Custom Layouts
Accelerate your design workflow by creating reusable layouts and sections with the Custom Layouts Addon for SiteOrigin Premium. Build layouts using SiteOrigin Page Builder, save them to a dedicated Custom Layouts library, and reuse them whenever you need a consistent structure across your site.
Create full layouts or individual sections, then insert them into new pages without rebuilding the same layout every time.
Requirements
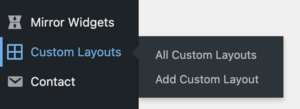
To get started, go to SiteOriginPremium Addons and activate the Custom Layouts Addon. Once activated, you can manage your layout library at Custom Layouts in the WordPress main menu.
Usage
Custom layouts are stored as a custom post type called Custom Layouts. You can create new layouts from the Custom Layouts screen, or save layouts and sections while you build in Page Builder.
Create a Custom Layout
- Go to Custom Layouts.
- Click Add New.
- Enter a title for your custom layout.
- Optionally import an existing page, post, or layout as a starting point.
- Use Page Builder to build or edit the layout.
- Save the custom layout.
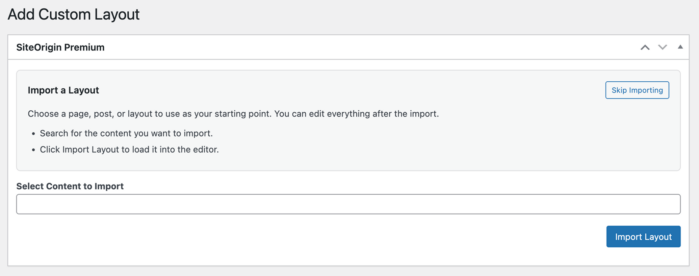
Import a Layout
When creating a new custom layout, you can import existing content to use as your starting point. The importer allows you to search for content and load it directly into the editor.
The importer includes the following options when creating a new custom layout:
- Select Content to Import: Search for a page, post, or layout to import.
- Import Layout: Load the selected content into the editor.
- Skip Importing: Start with a blank layout.
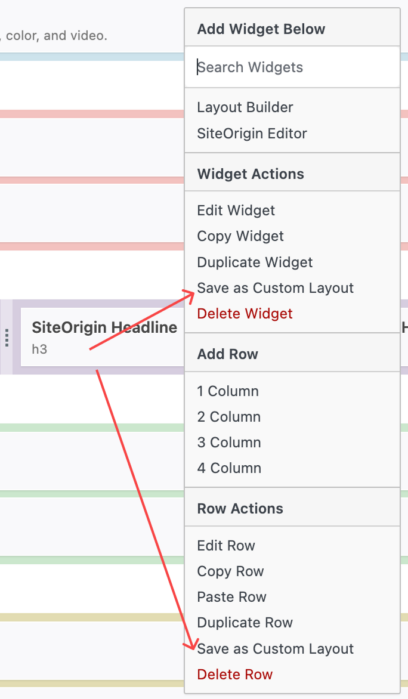
Save as Custom Layout
You can save layouts and sections directly from the Page Builder interface using the contextual menu.
- Edit a page using Page Builder.
- Right-click to open the contextual menu for a row or widget.
- Select Save as Custom Layout.
- Enter a title for the custom layout when prompted.
- A new draft custom layout will be created and a link to edit it will be displayed.
Manage Custom Layouts
Your saved layouts are available at Custom Layouts. From there you can:
- Create new custom layouts.
- Edit existing custom layouts.
- Organize layouts using titles and featured images.
- Delete layouts you no longer need.
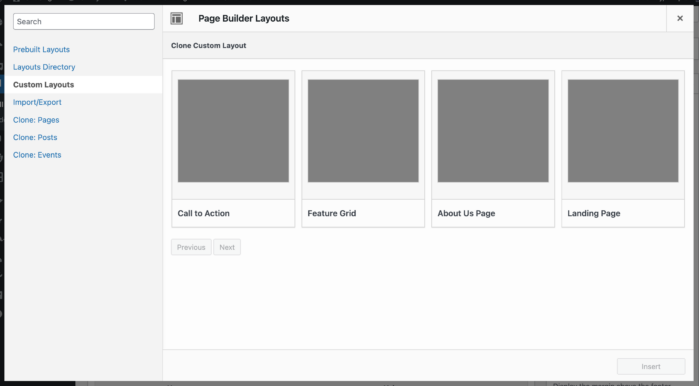
Insert Custom Layouts
Click LayoutsImport/ExportCustom Layouts (in the left column) within any Page Builder instance to view your custom layouts. Select a layout and click the Insert button bottom right to insert a layout.
Notes
- Custom layouts use the Classic Editor with Page Builder enabled.
- Live Editor and History are not available when editing custom layouts.
- Revert to Editor is disabled for Custom Layouts to maintain the Page Builder interface.
- Custom Layouts are publicly queryable only when requested by Page Builder with a valid panels nonce.