
 Page Builder
  Widgets Bundle
  SiteOrigin CSS
  Installer
 Adding New Posts
2 min read Updated
After you publish a post type with the Custom Post Type Builder, it shows in the admin menu. You add posts to it like normal posts. Each new post starts with the Page Builder layout of the post type.
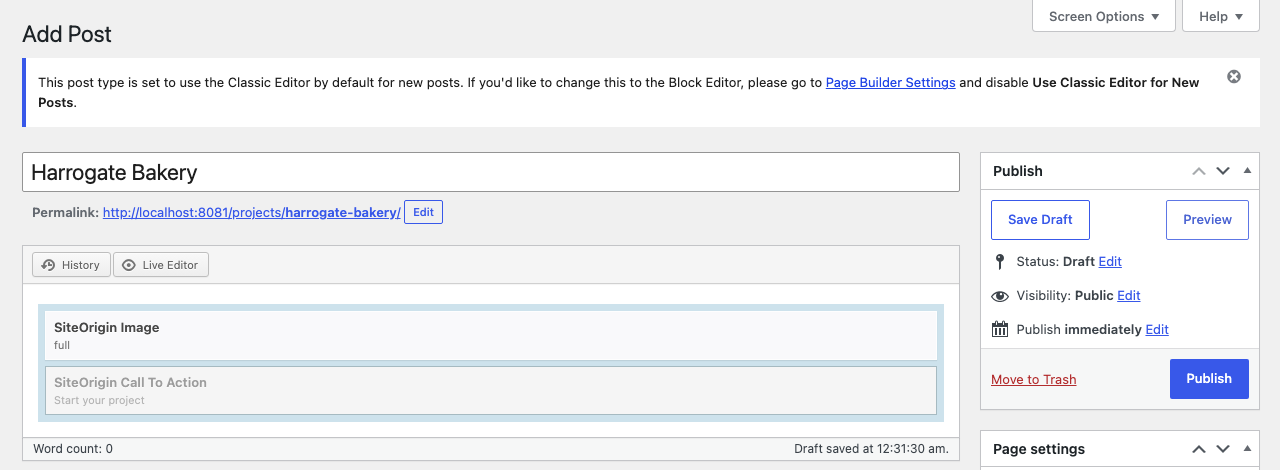
Add a Post
- In the admin menu, hover over the post type, for example Projects, and click Add Post.
- Enter the title, for example Harrogate Bakery.
- Page Builder shows the layout of the post type. Edit each widget to add the content of this post.
- In the sidebar, choose the terms of your taxonomies, for example Website in Project Types, and set the other boxes, such as Featured image.
- Click Publish.
Posts of these post types always use the Classic Editor, also when the rest of your site uses the block editor.
What Follows the Post Type Layout
This depends on the Editable layout setting of the post type.
Editable layout off (default)
- The rows, columns and styles always come from the post type layout. You can’t add, move or delete rows and widgets in a post. If you change the styles of a widget in a post, the change is not kept.
- A widget you don’t change in the post follows the post type layout. When the post type layout changes, the post shows the new content.
- After you change the content of a widget in the post, the post keeps its own content for that widget.
- Read Only widgets have no Edit action. They always show the content from the post type layout.
- A widget added to the post type layout shows in all posts. A widget deleted from the post type layout goes from all posts, together with the content entered in it.
Editable layout on
- You can add, move and delete rows and widgets, and use prebuilt layouts, in each post.
- After you save a post, it keeps its own layout. Later changes to the post type layout don’t reach it.