
 Page Builder
  Widgets Bundle
  SiteOrigin CSS
  Installer
 Logo
1 min read Updated
Add your logo in the WordPress Site Identity section. Corp then shows it in the header. If you do not add a logo, Corp shows your site title as text.
Add a Logo
- Go to AppearanceCustomizeSite Identity.
- Click Select logo, choose an image from the Media Library (or upload one) and click Select.
- WordPress opens a Crop image box. Click Skip cropping to keep the whole logo. Click Crop image only if you want to cut it down.
- Click Publish.
Site Title and Tagline
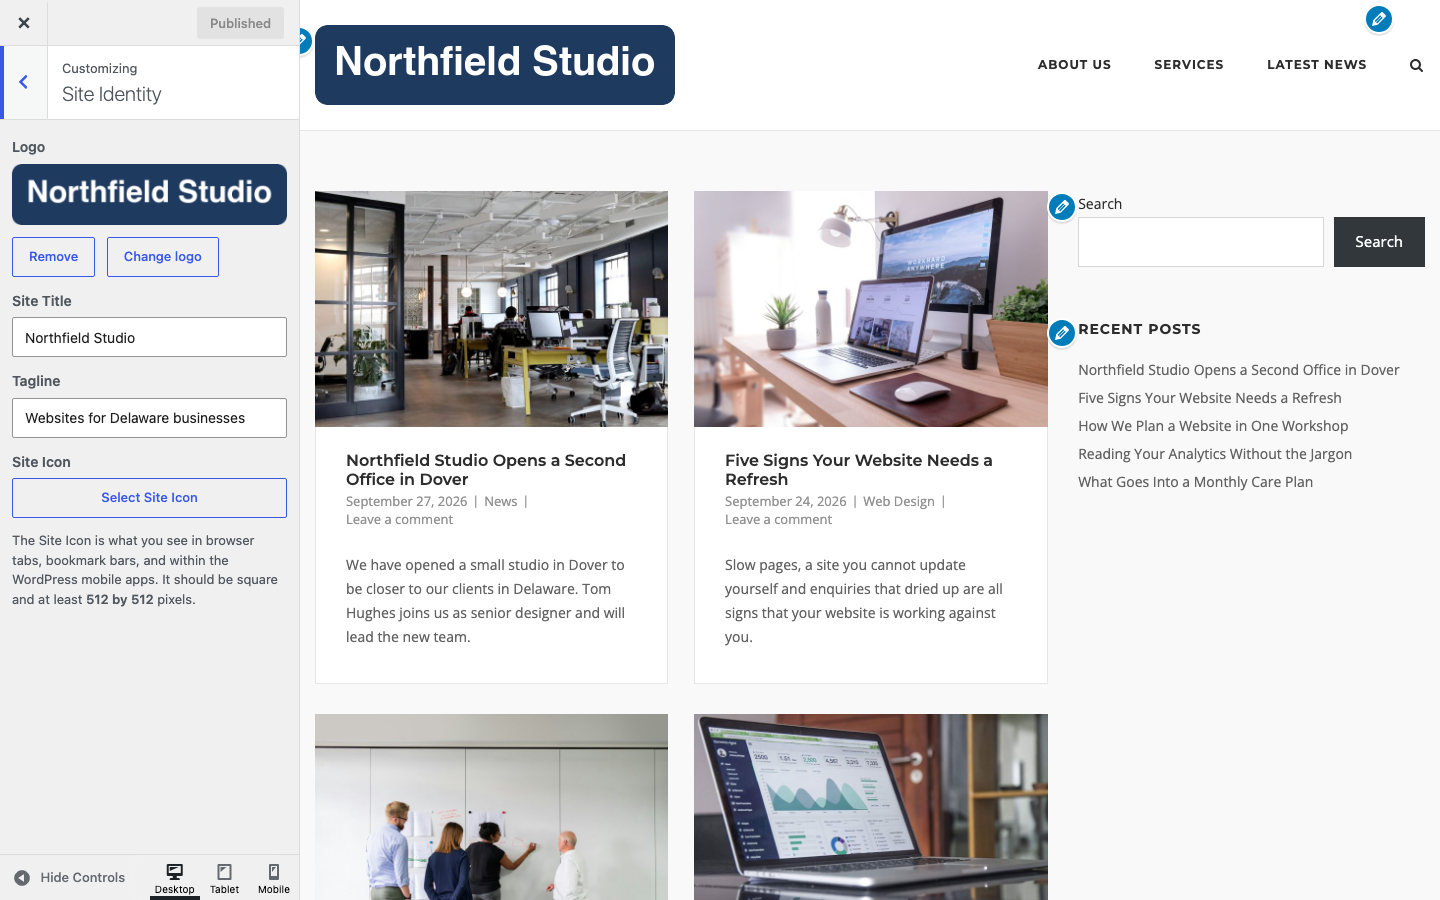
Site Title
Shown as text in the header when no logo is set. It is also the name in the browser tab and the {sitename} footer tag.
Tagline
A short line about your site. It only shows in the header when you enable the Tagline setting at AppearanceCustomizeTheme SettingsHeader. Default: off.
Site Icon
The icon in browser tabs and bookmarks. It must be square and at least 512 by 512 pixels.
Retina Logo
A retina logo gives sharper results on high pixel density screens.
- Add a regular logo in Site Identity first, for example 200 by 100 pixels.
- Go to AppearanceCustomizeTheme SettingsHeader and click Select image under Retina Logo.
- Choose an image that is exactly double the size of the regular logo, for example 400 by 200 pixels.
Sticky Header Logo
To shrink the logo when the header sticks to the top of the screen, enable Sticky Header and Sticky Header Scales Logo. See Header. To show a different logo on scroll or on one page, use the Logo Booster Addon from SiteOrigin Premium.