
 Page Builder
  Widgets Bundle
  SiteOrigin CSS
  Installer
 Prebuilt Layouts
5 min read Updated
The Layouts button in the Page Builder toolbar lets you start from a ready-made layout, copy the layout of another page, or move a layout to another site. It works the same in the Page Builder interface and in the SiteOrigin Layout block. For the toolbar, see Getting Started.
The Layouts Dialog
Click Layouts to open the Page Builder Layouts dialog. When the builder is empty, the Prebuilt Layout link in its welcome message opens the same dialog.
The sidebar has these tabs:
- Prebuilt Layouts: layouts from your theme or a plugin. This tab shows only when there is at least one.
- Layouts Directory: free layouts from SiteOrigin.
- Import/Export: download the current layout as a JSON file, or upload a layout file.
- Clone: Pages, Clone: Posts: copy the layout of an existing page or post. There is one Clone tab for each Page Builder post type that you can edit.
SiteOrigin Premium adds Custom Layouts, which adds a Custom Layouts tab with the layouts that you save on your site.
To search the current tab, type in the Search field above the tabs and press Enter. Search works on the Prebuilt Layouts, Layouts Directory and Clone tabs. It finds layouts by name, and pages and posts by title.
Insert a Layout
- Click Layouts.
- Click a tab.
- Click a layout’s image or title to select it.
- Click Insert, then choose where the layout goes.
- Save the page.
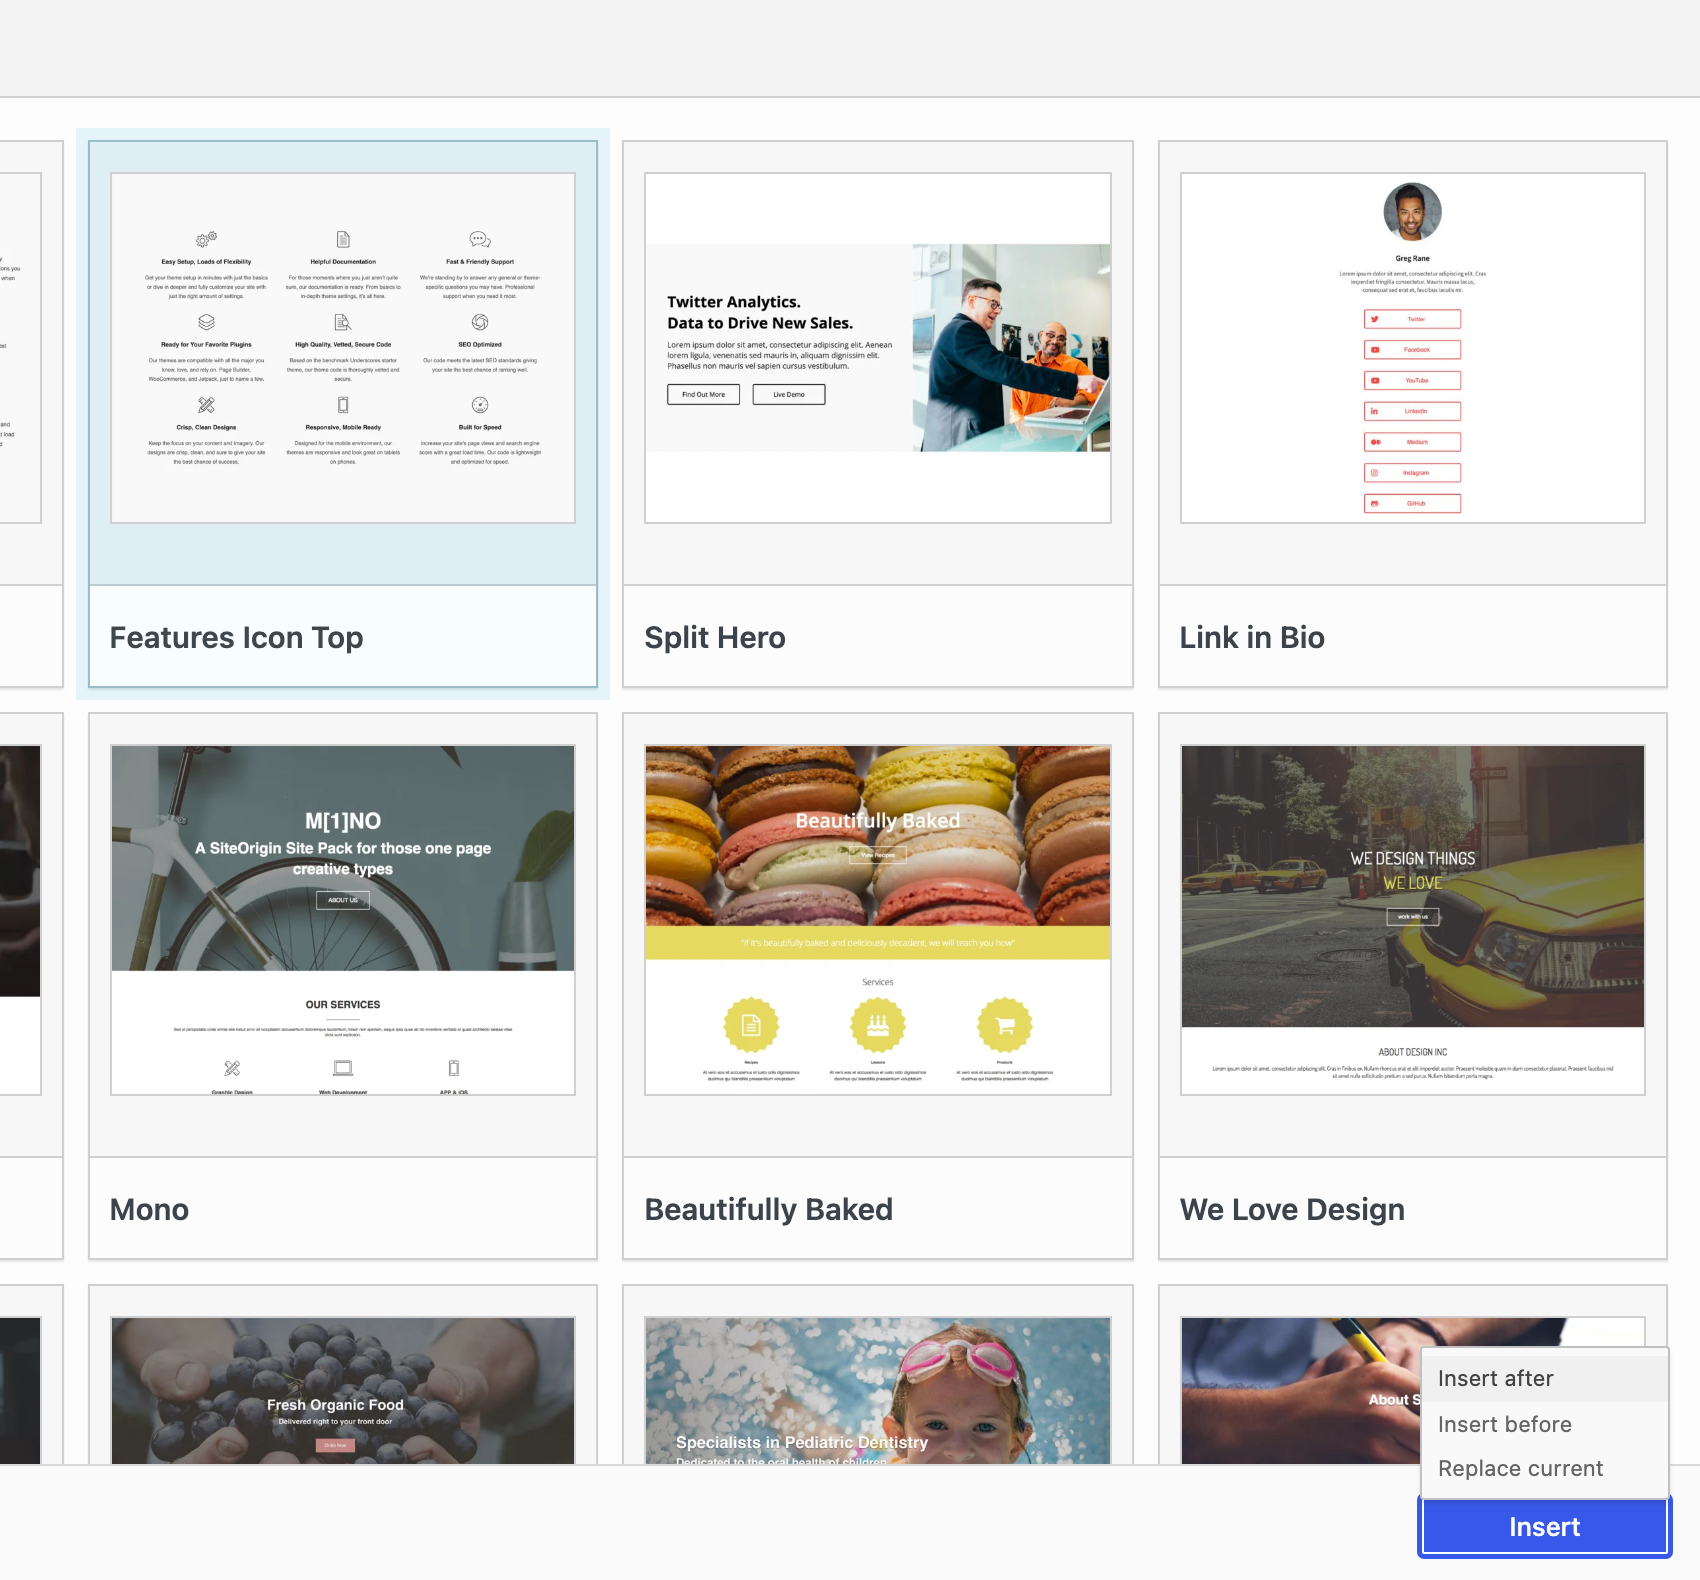
The Insert menu has three choices:
- Insert after: adds the layout’s rows after your existing rows.
- Insert before: adds the layout’s rows before your existing rows.
- Replace current: removes your existing rows and loads the layout. The first click changes the label to Are you sure?. Click it again to confirm. The label resets after a few seconds.
Most SiteOrigin layouts use widgets from the SiteOrigin Widgets Bundle. If the Widgets Bundle is active, it turns on each of its widgets that a layout needs.
Undo a Layout
When you insert a layout, Page Builder adds a Prebuilt layout loaded entry to History. Several inserts made close together can share one entry. To undo the insert, click History, select Prebuilt layout loaded to preview the page as it was before, then click Restore Version. See History.
Prebuilt Layouts From Your Theme
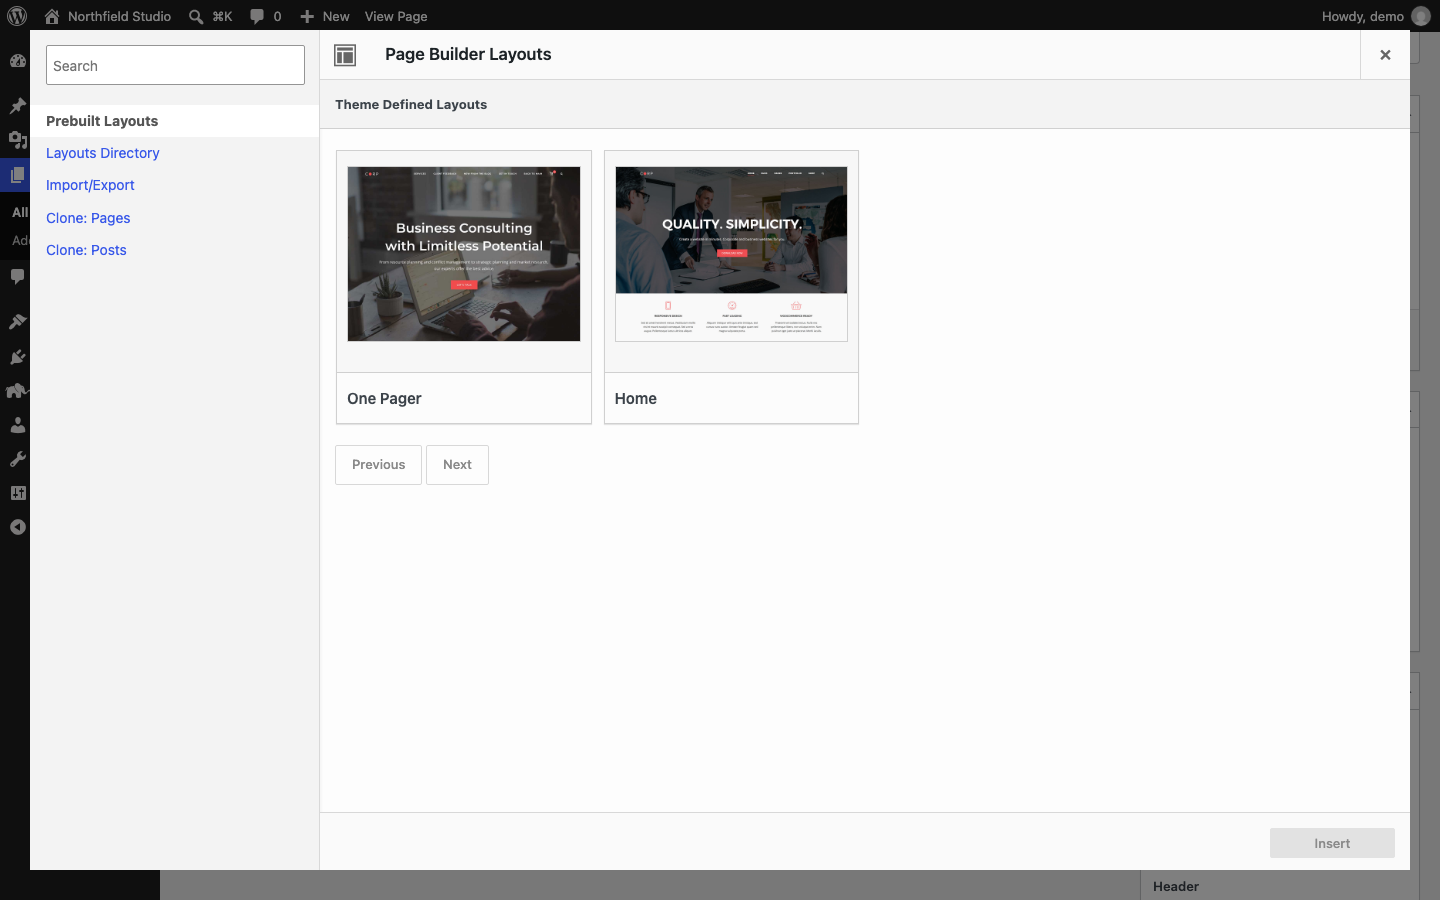
Some themes include their own layouts. For example, SiteOrigin Corp adds Home and One Pager. They show on the Prebuilt Layouts tab, under Theme Defined Layouts.
Add Layouts to a Theme
Page Builder looks for layouts in a folder named siteorigin-page-builder-layouts in the parent theme and in the child theme. To add a layout:
- Export a layout from the Import/Export tab.
- Put the
.jsonfile in thesiteorigin-page-builder-layoutsfolder of your child theme. - To add a thumbnail, put an image with the same file name in the same folder, for example
about.jsonandabout.jpg. Use a JPG, PNG or GIF image.
The dialog shows the name value from the file. If the file has no name, the dialog uses the file name. Themes and plugins can add other folders with the siteorigin_panels_local_layouts_directories filter. See Bundling Prebuilt Layouts.
Layouts Directory
The Layouts Directory tab lists free layouts from SiteOrigin. Your site loads them from SiteOrigin’s layouts server.
The first time you open the tab, it asks: Do you want to browse the Prebuilt Layouts directory? Click Enable. Page Builder remembers your choice for your user account.
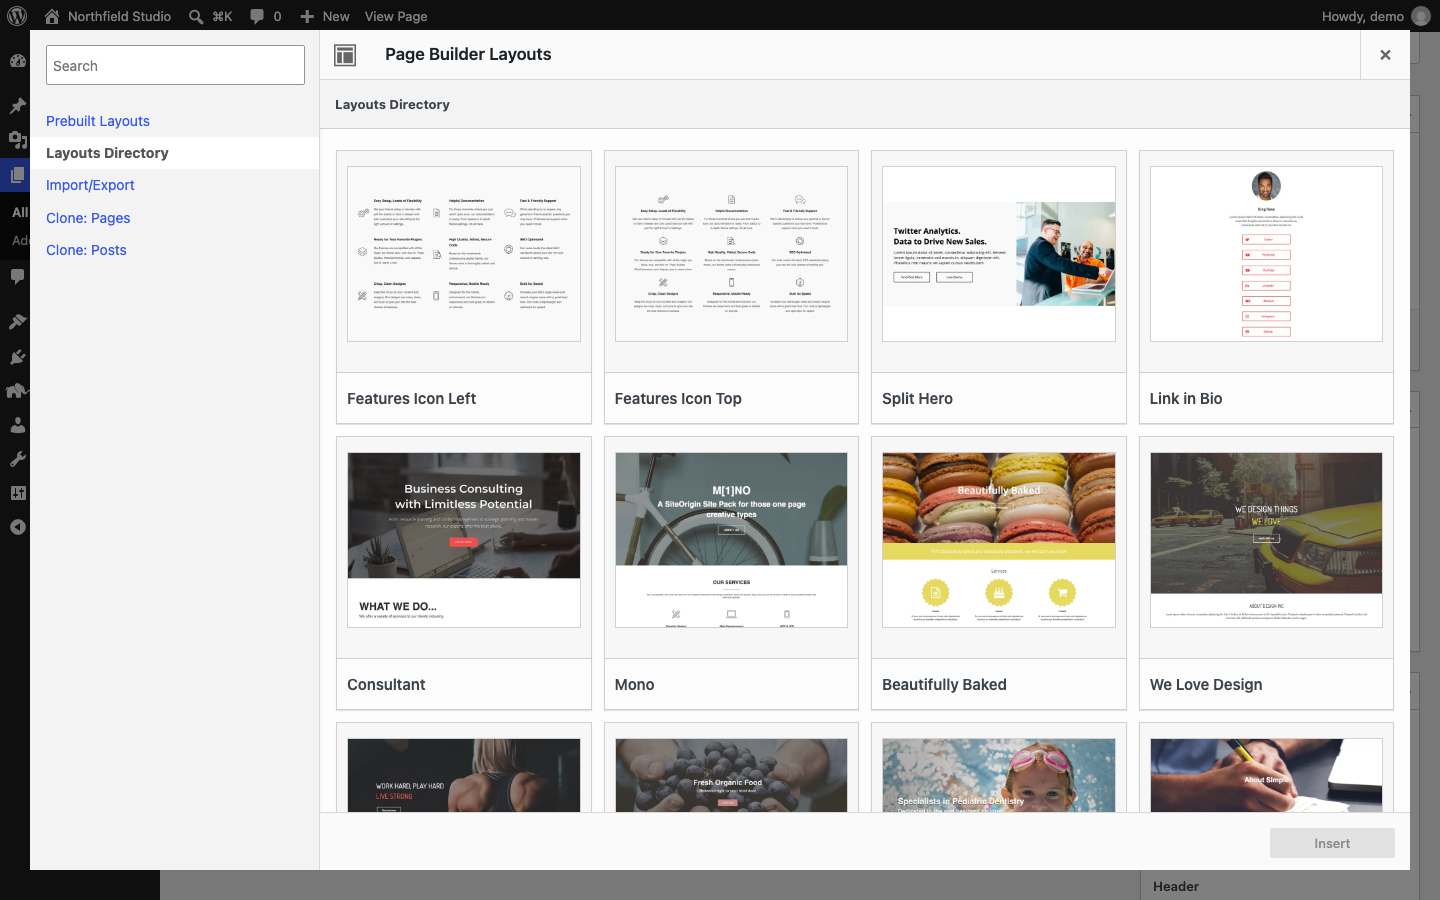
- Click Preview on a layout to open its demo page in a new browser tab.
- Click Previous and Next at the bottom to move between pages of layouts.
- When the directory sends filter lists, the tab shows Category and Niches filters. Choose one category, and one or more niches, to narrow the list. The filters apply to the layouts on the current page.
Developers can remove this tab with the siteorigin_panels_layouts_directory_enabled filter.
Clone a Page
Each Clone tab lists the pages or posts of one post type that have a Page Builder layout. The newest are first, with 16 on each page. The list shows published and draft entries. Private pages and posts show too, if your account can read private entries of that type. Private entries of other post types don’t show. To clone an entry, you need permission to edit it. The featured image, if there is one, is the thumbnail.
Cloning copies the layout only: the rows, columns and widgets, with their styles. It doesn’t copy the title or other page settings.
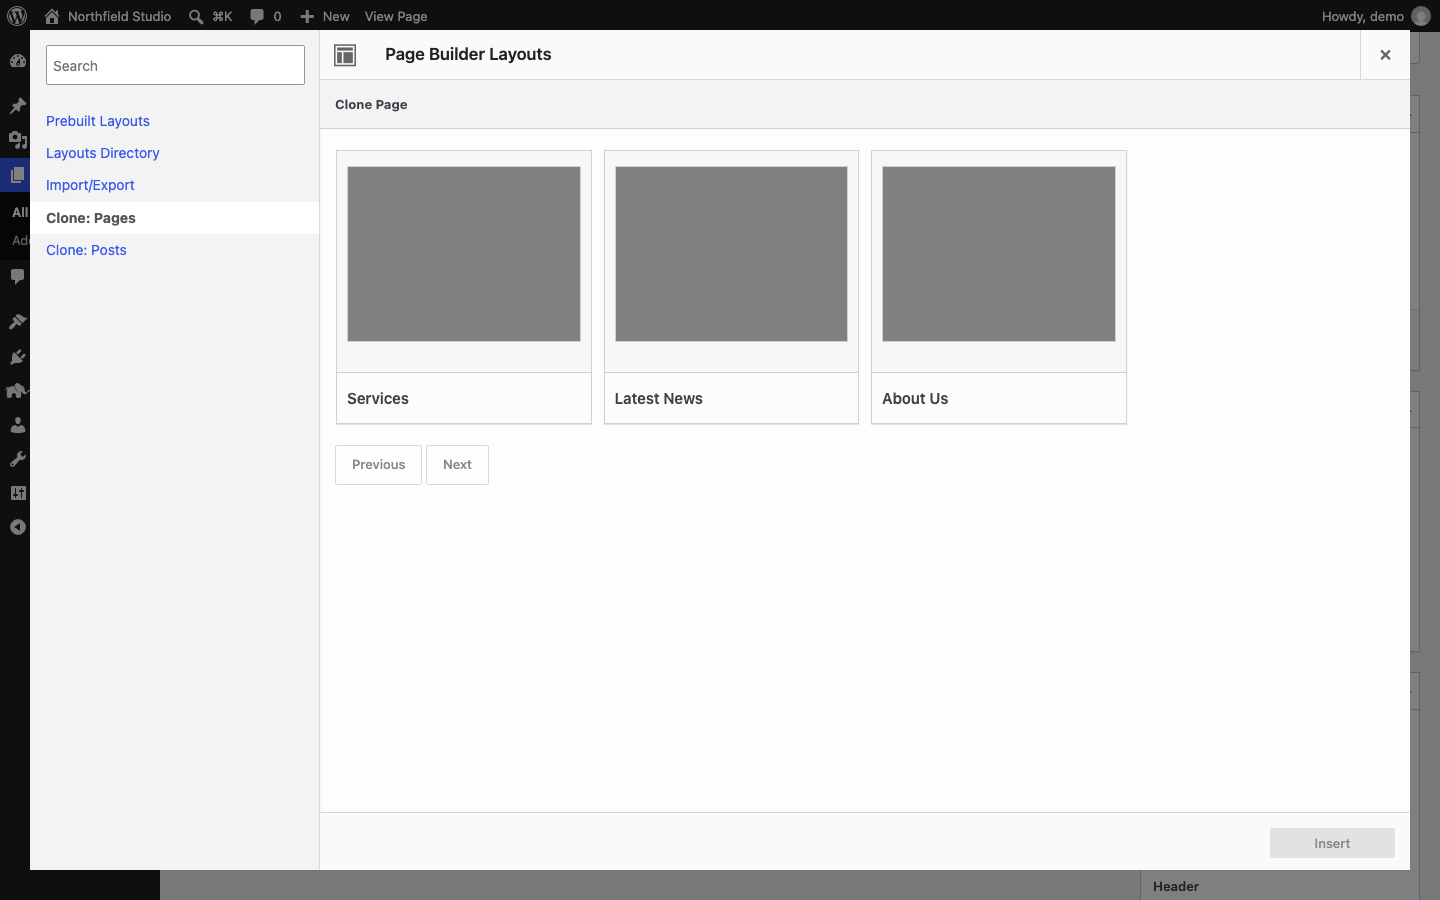
Pages built only with the SiteOrigin Layout block don’t show on the Clone tabs. The block saves its layout in the page content. To reuse a block’s layout, export it from the Import/Export tab.
Page Builder shows Clone tabs for the post types selected at SettingsPage BuilderGeneralPost Types that your account can edit.
Import and Export a Layout
The Import/Export tab saves a layout as a JSON file, and loads a JSON file into the builder. Use it to keep a copy of a layout, or to move one page’s layout to another site.
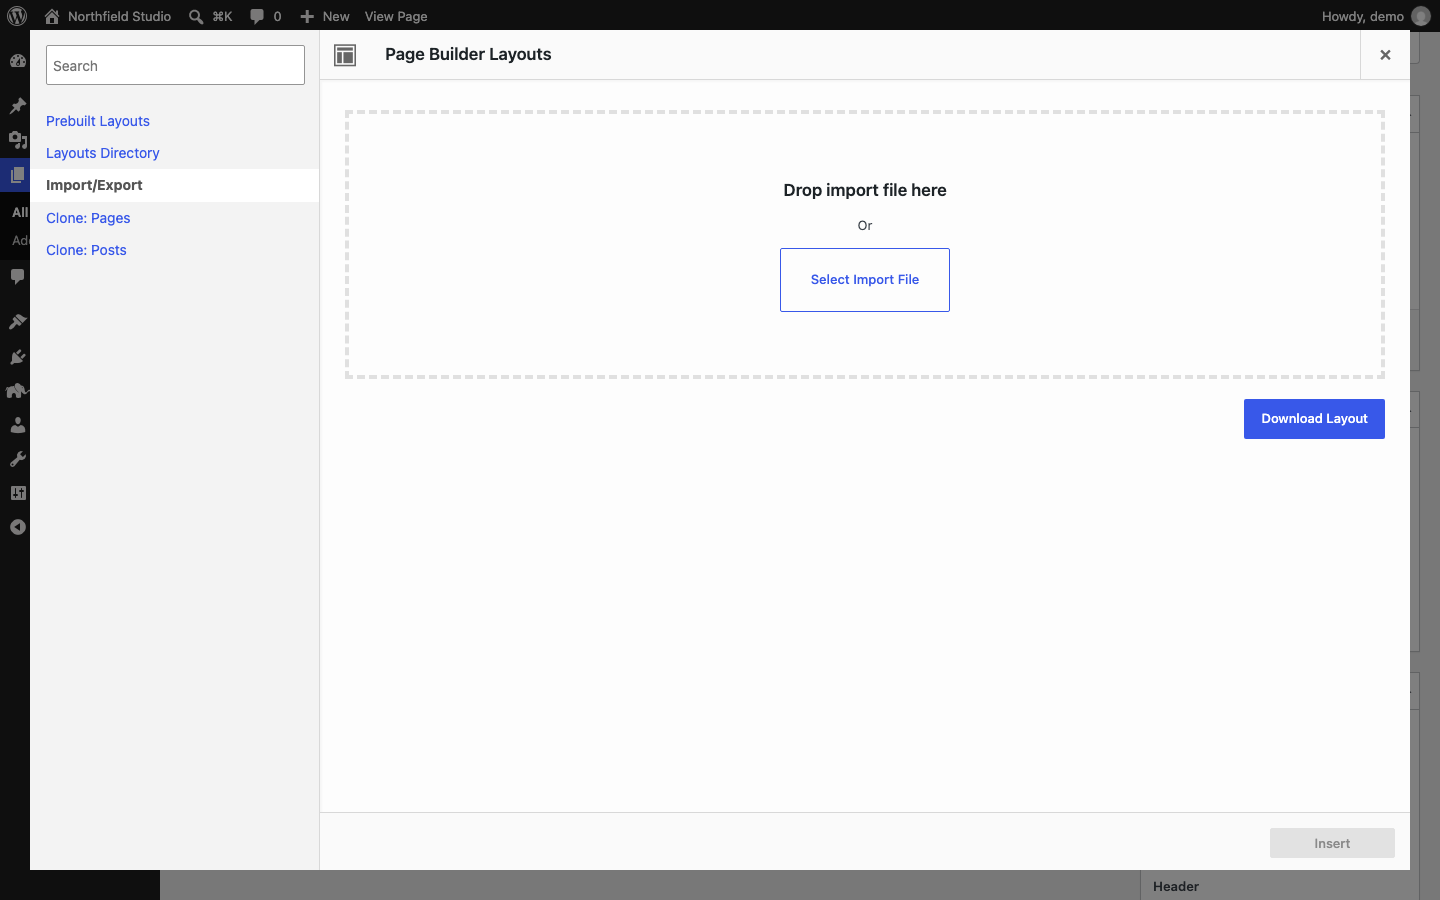
Export a Layout
- Edit the page and click Layouts.
- Click the Import/Export tab.
- Click Download Layout.
Your browser downloads a .json file. The file name comes from the page title. If the page has no title, the name uses the post ID or the date. The file includes changes you haven’t saved yet. In the Block Editor, Download Layout exports the layout of that SiteOrigin Layout block. The file name usually ends with a number for the block’s position on the page.
Import a Layout
- Edit the page and click Layouts.
- Click the Import/Export tab.
- Drag the
.jsonfile onto Drop import file here, or click Select Import File and choose the file. - Wait for the message that the file is ready to insert.
- Click Insert, then choose Insert after, Insert before or Replace current.
- Save the page.
The file doesn’t contain image files. The layout refers to images by their Media Library ID or URL. After you import a layout on another site, check each image and select it again if needed.
To move a whole site, see Exporting Content.