
 Page Builder
  Widgets Bundle
  SiteOrigin CSS
  Installer
 Getting Started
3 min read Updated
SiteOrigin Snapshot is a free block theme for photographers and creatives who want a photo blog. Install Snapshot, add your site title and logo, then choose what appears on your home page.
Install Snapshot
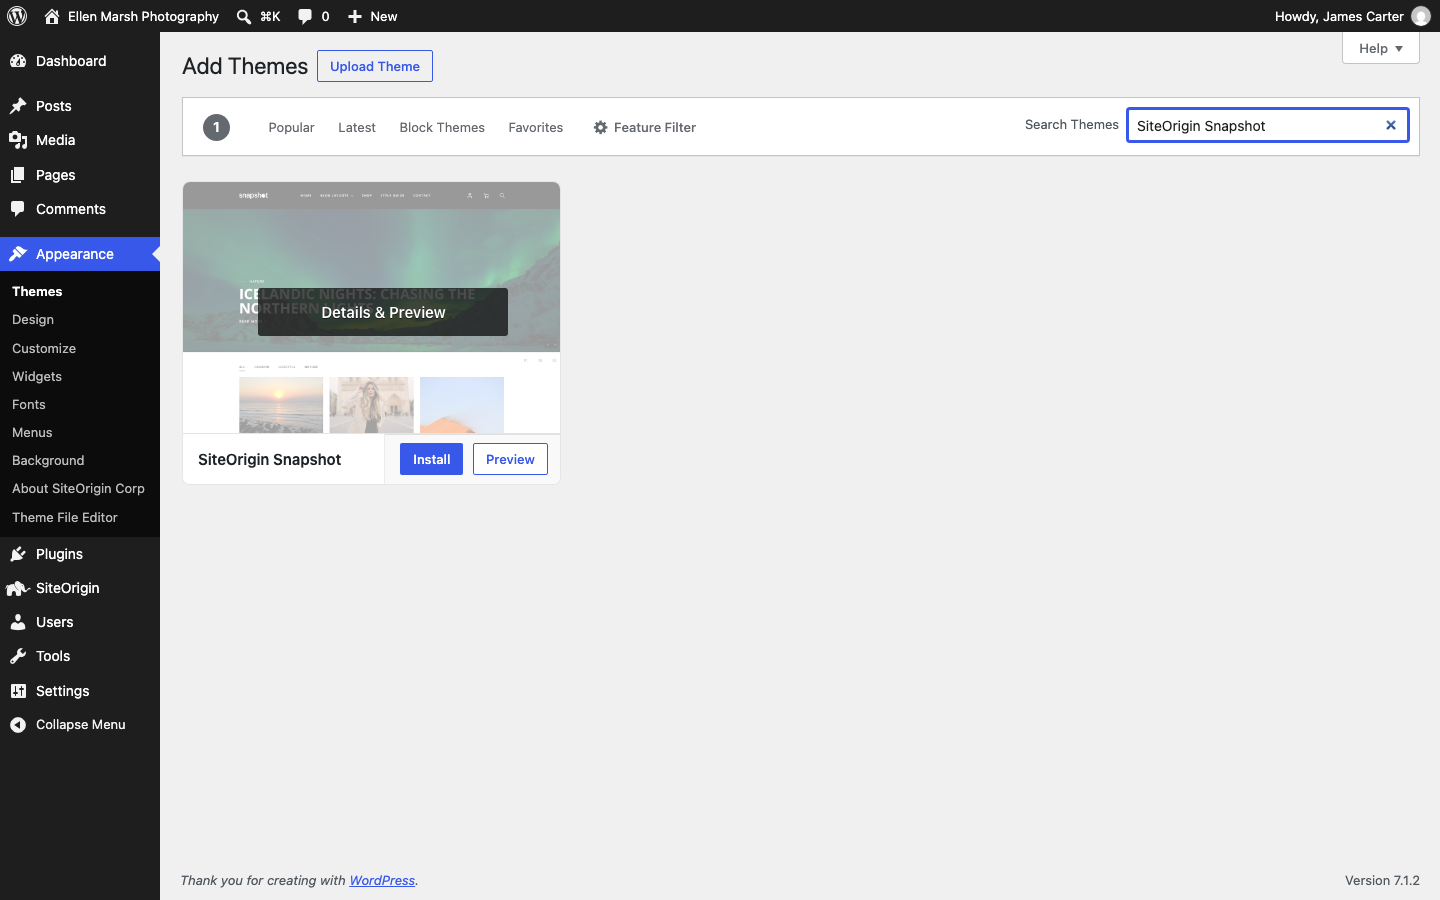
- Go to AppearanceThemes and click Add Theme.
- Type SiteOrigin Snapshot in the search field.
- Click Install on the SiteOrigin Snapshot card, then click Activate.
To install from a zip file, download Snapshot from WordPress.org. On the Add Themes screen, click Upload Theme and choose the zip file. Click Install Now, then Activate.
Use the Site Editor at AppearanceEditor to change Snapshot’s layout and design.
Add Your Site Title and Logo
The header places your logo beside your site title. In Identity, add both, and set a tagline or site icon if you want one:
- Go to AppearanceEditor and click Identity.
- Enter your Site Title, such as Ellen Marsh Photography, and a Site Tagline if you use one.
- Under Site Logo, click Choose logo and select or upload your logo. Then use Choose icon under Site Icon to add a square image at least 512 by 512 pixels.
- Click Save.
The header has a black background in the default style, so a white or light logo works best there. To change the logo size or the menu, see Header, Footer and Menus.
Choose What Your Home Page Shows
Your home page shows your latest posts until you choose a static page for it. Snapshot’s Blog Home template places a slider above the posts, with a sidebar beside the list. The slider starts with your three newest posts. Sticky posts appear first and can add more slides.
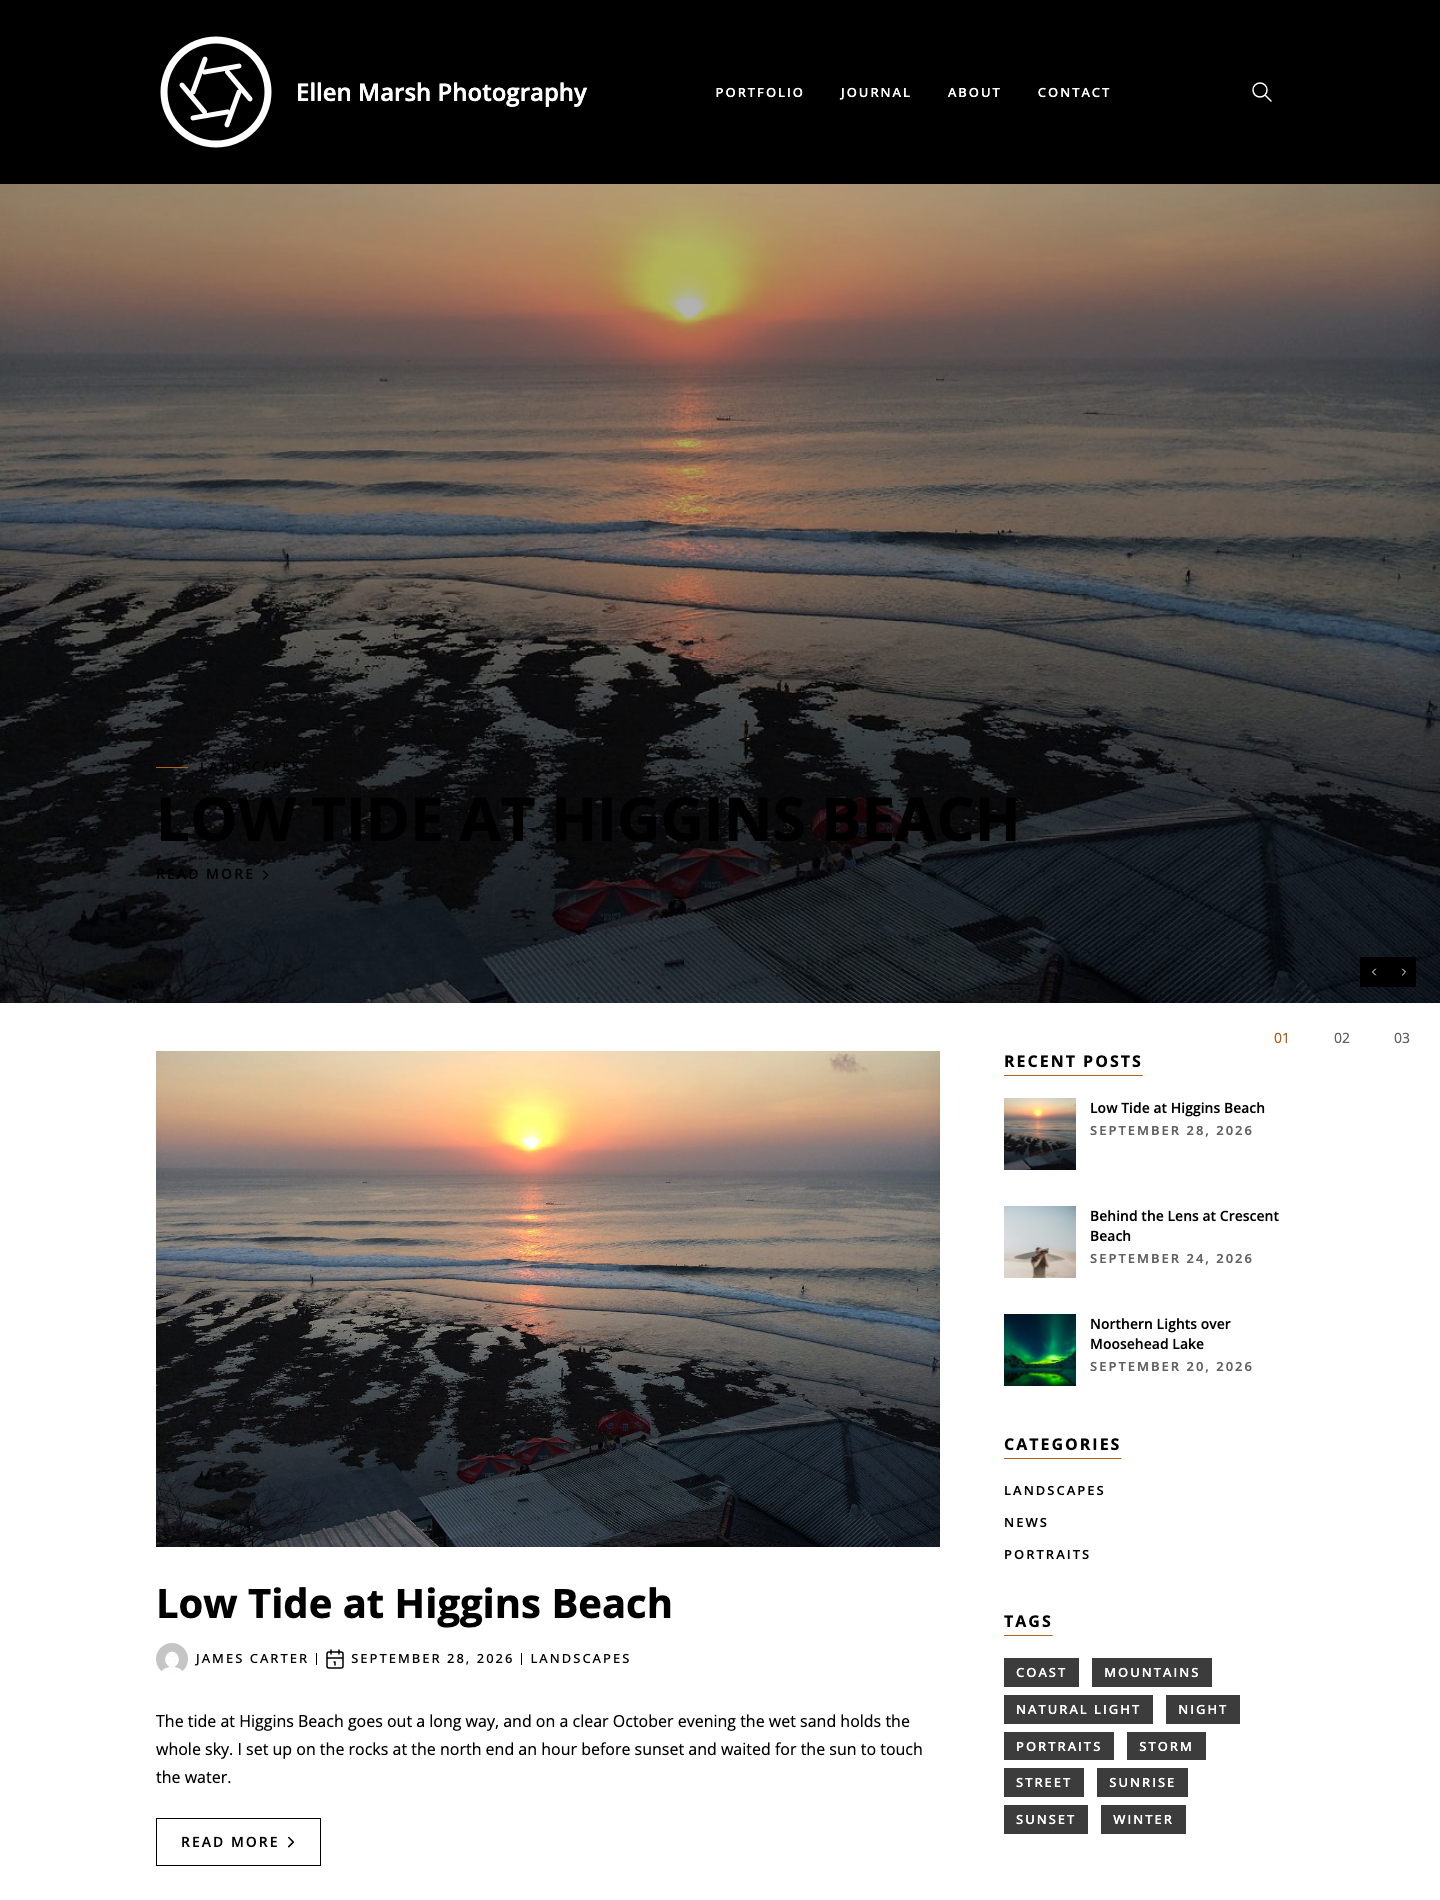
To show a photo behind a slide, add a featured image to that post. If none of the posts in the slider has a featured image, the slider does not show. WordPress Featured Images explains how to set one.
To introduce your work on the home page and show your posts on a separate page:
- Go to PagesAdd Page and create a page named Home. Add a short introduction and a Featured image, then publish the page.
- Create a blank page called Journal and publish it.
- Go to SettingsReading and, under Your homepage displays, select A static page (select below).
- Choose Home in Homepage and Journal in Posts page, then click Save Changes.
Your Journal page now uses the Blog Home template, with the slider. The home page uses the Pages template, which shows the page’s featured image and title above its content, with no sidebar.
Add the Posts Slider to Your Home Page
To place the slider below your Home page’s featured image and title, above its introduction:
- Go to Pages and edit your home page.
- Click the Block Inserter (+) button at the top left and open the Patterns tab.
- Search for Posts Slider and click the pattern to insert it.
- If the slider lands below your introduction, select it and click Move up in its toolbar. Then click Save.
Visitors move between posts with the arrows or the slide numbers. To change which posts the slider shows, see Blog Layouts.
Set Up the Rest of Your Site
- Header, Footer and Menus: build your menu and replace the sample text and photos in the footer.
- Styles: switch to the Dark or Light style, or change the colors and fonts.
- Templates: see which layout each page uses and change it when needed.