
 Page Builder
  Widgets Bundle
  SiteOrigin CSS
  Installer
 Blog Layouts
3 min read Updated
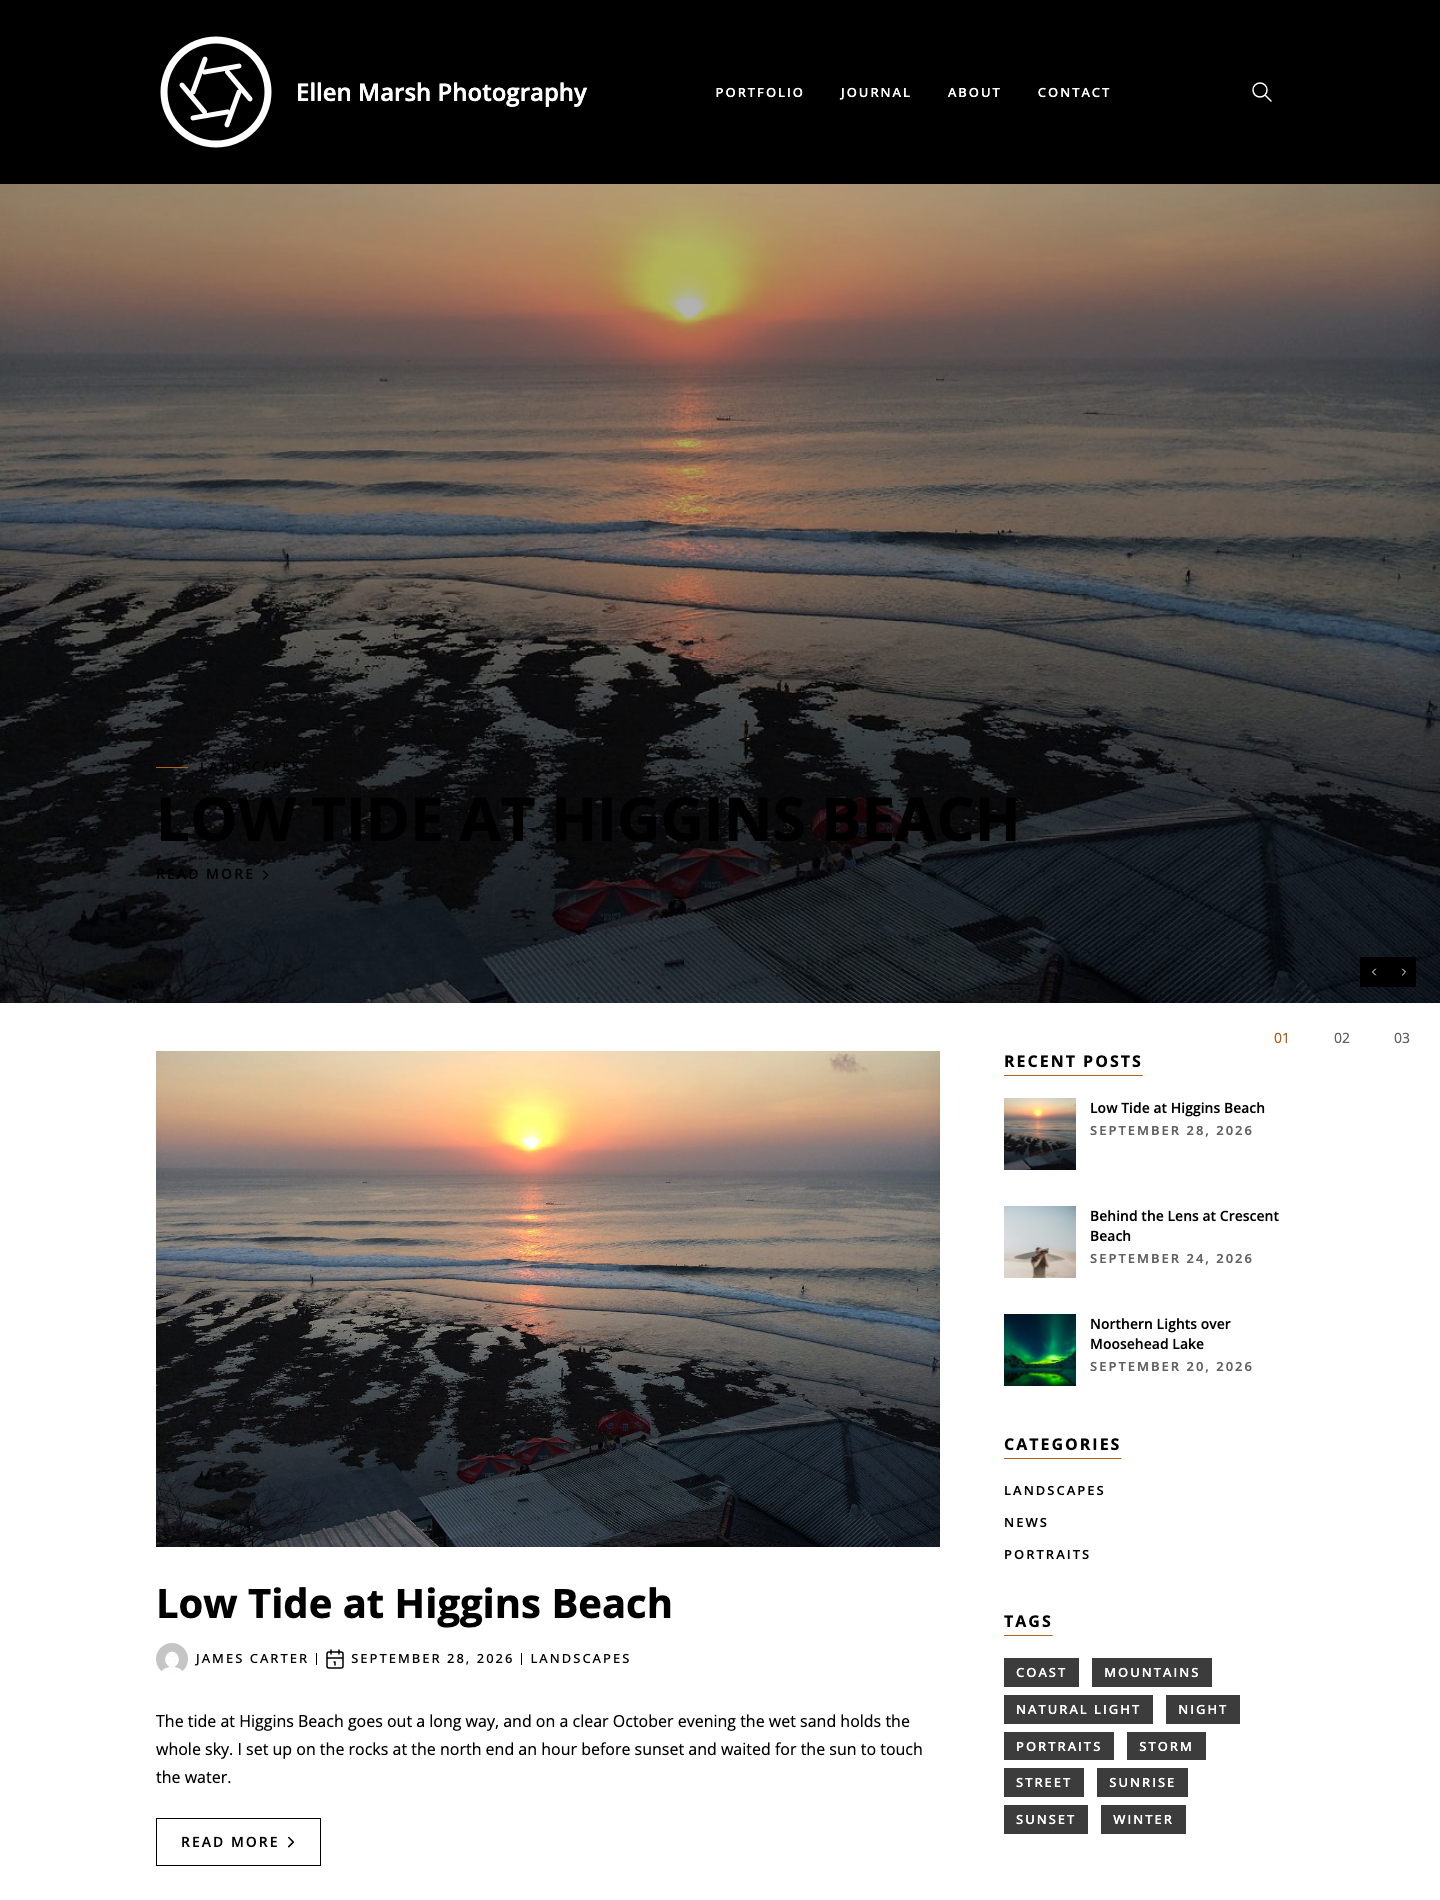
SiteOrigin Snapshot has three post layouts. Each layout is a pattern that adds a Query Loop block to a template or page:
- Post Loop: large photos and excerpts in one column.
- Post Loop Grid: photo cards in two columns.
- Posts Slider: your latest posts across the full width of the page.
Snapshot’s blog page shows the Posts Slider above the Post Loop, and author archives use the Post Loop Grid.
Featured Images
All three layouts show a post’s featured image above its title, so set a featured image on every post. In the post editor, open the Featured image panel in the settings sidebar and click Set featured image. For more on choosing and replacing images, see Featured Images.
On wider screens, the Post Loop crops images to 784 by 496 pixels, and the grid crops them to a 3:2 landscape shape. The slider fills the page width, nearly the full screen height, and adds a dark overlay. Since the slider fills the screen, we suggest landscape photos at least 1920 pixels wide.
Change the Blog Page Layout
To swap the single column on your blog page for the grid:
- Go to AppearanceEditorTemplates and open Blog Home.
- Open the List View and select the Query Loop block that holds the posts, below the slider.
- Click Change design in the block toolbar and choose Post Loop Grid.
- Click Save.
To change the number of columns, expand the Query Loop in the List View, select Post Template and change Max. columns in the Layout panel of the block settings.
Both layouts show the author’s avatar, the date and one category below each title, and the Post Loop also shows the author’s name. Edit or remove the avatar, date or category once and the change appears on every post in the loop.
Add Posts to a Page
You can also add the Post Loop or the Post Loop Grid to a regular page to show your recent posts:
- Edit the page, click the + button at the top of the editor and open the Patterns tab.
- Search for “Post Loop” and click Post Loop or Post Loop Grid.
- Select the Query Loop block. In its settings, set Query type to Custom.
- To show one category, for example Landscapes, choose it in the Filters panel and set Sticky posts to Ignore. Then save the page.
On the blog page and archives, WordPress chooses the posts these patterns show. On a regular page, choose Custom so the layout shows your posts instead of repeating the page. Setting Sticky posts to Ignore keeps sticky posts from other categories out of a filtered list.
Posts Slider
The Posts Slider shows your three newest posts, one slide at a time. Sticky posts appear first and can bring the total above three. Each slide places the category, title and a Read More link over its featured image, and a post without a featured image gets a plain background. Visitors move between slides with the arrows or the numbered buttons, and the slider doesn’t play on its own. If none of the posts has a featured image, the slider doesn’t display.
On your static home page, open the Patterns tab in the page editor and add Posts Slider at the top of the page. Select its Query Loop block to change what it shows:
- Items per page in the Display panel sets how many recent posts it shows.
- To show one category, for example Portraits, choose it in the Filters panel and set Sticky posts to Ignore.
To remove the slider from your blog page, open the Blog Home template and select Posts Hero Loop in the List View. Delete the block, then save the template.
Masonry Layouts
For a masonry layout, with cards of different heights in staggered columns, add the SiteOrigin Blog block from the SiteOrigin Widgets Bundle and choose its Masonry template. See Blog Widget for its settings.
Related
- Getting Started to choose your home page and posts page.
- Templates for the blog, archive and single post templates.
- Page Builder and Widgets for the SiteOrigin Blog block.