
 Page Builder
  Widgets Bundle
  SiteOrigin CSS
  Installer
 Getting Started
3 min read Updated
Origami is a SiteOrigin theme for blogs and photo sites, with one centered column of content, a menu bar below the logo and a footer widget area. Follow these steps to install Origami from WordPress.org, for example on a copy of your site or in place of Origami Premium, and to set up your site.
Requirements
- WordPress 4.7 or higher.
- PHP 7.0 or higher.
- Optional: Page Builder by SiteOrigin to build page layouts and the Home Page screen. Origami recommends it.
- Optional: SiteOrigin Widgets Bundle for more widgets, such as the Blog, Google Maps and Contact Form Widgets.
Install Origami
- Go to AppearanceThemes and click Add Theme.
- Type Origami in the search field.
- Click Install on the Origami card, then click Activate.
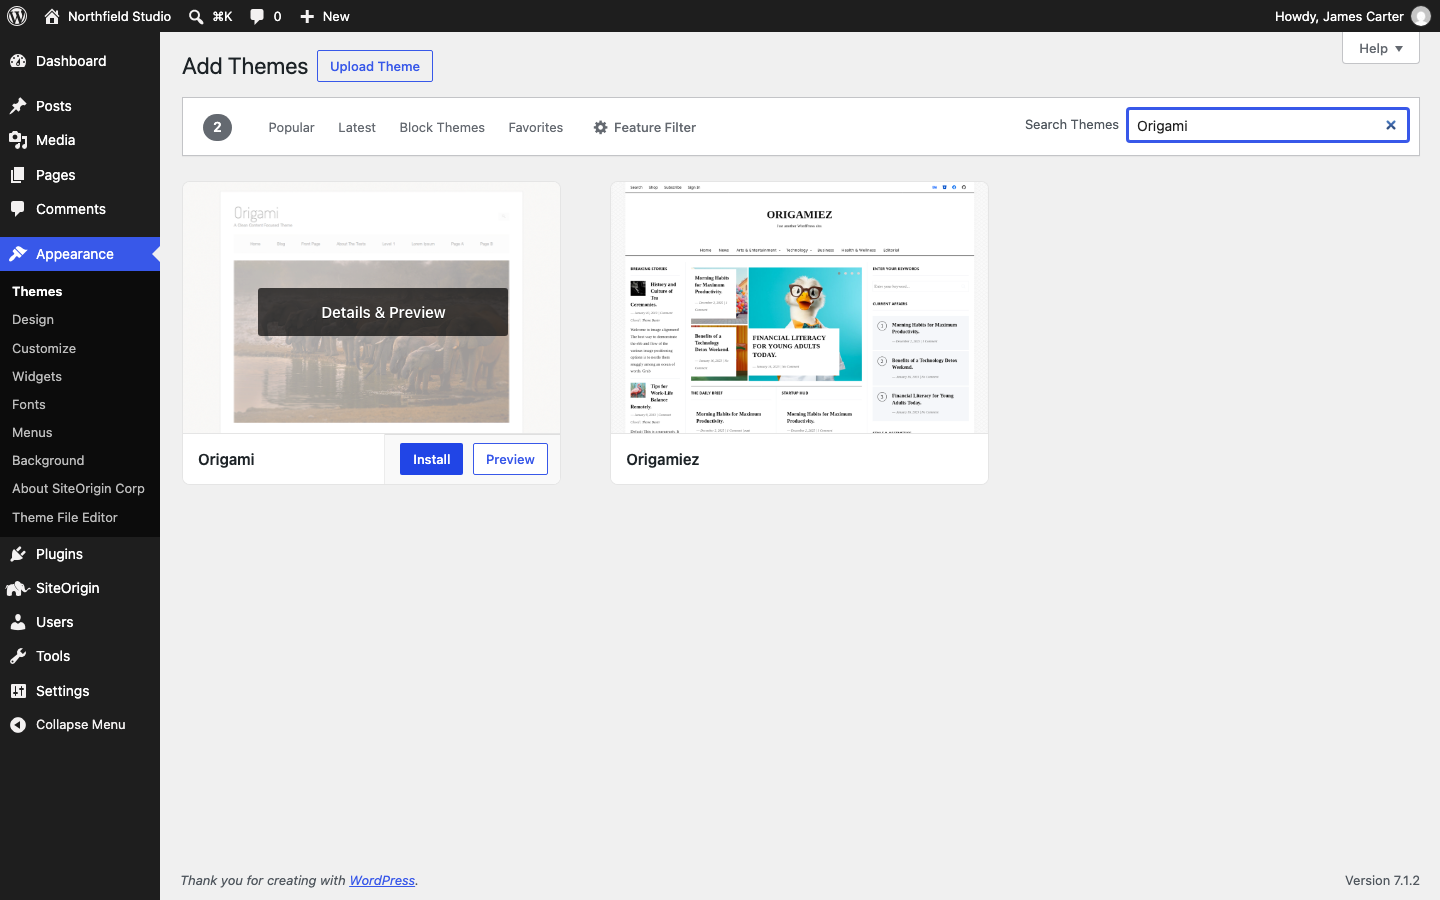
To install a zip file instead, click Upload Theme, choose the zip file and click Install Now. Then click Activate. If your site used Origami Premium before, read If You Used Origami Premium first.
After you activate Origami, WordPress shows a notice with a Learn About Origami button. It opens AppearanceAbout Origami, which links to this documentation.
Install the Plugins You Need
Until Page Builder is active, Origami shows a notice in the WordPress admin: “This theme recommends the following plugin: SiteOrigin Page Builder.” Click Begin installing plugin in the notice, or go to AppearanceInstall Plugins, to install it from there. You can also install any plugin in the usual way:
- Go to PluginsAdd Plugin.
- Search for Page Builder by SiteOrigin or SiteOrigin Widgets Bundle, click Install Now, then click Activate.
For the other plugins that Origami supports, such as Jetpack and WooCommerce, see Plugins.
Open the Customizer
Go to AppearanceCustomize. Origami adds two panels:
- Theme Settings holds the footer text, post details, header search, gallery, mobile and comment settings. See Theme Settings.
- Theme Design sets the fonts and the colors of the page container, menu and footer. See Theme Design.
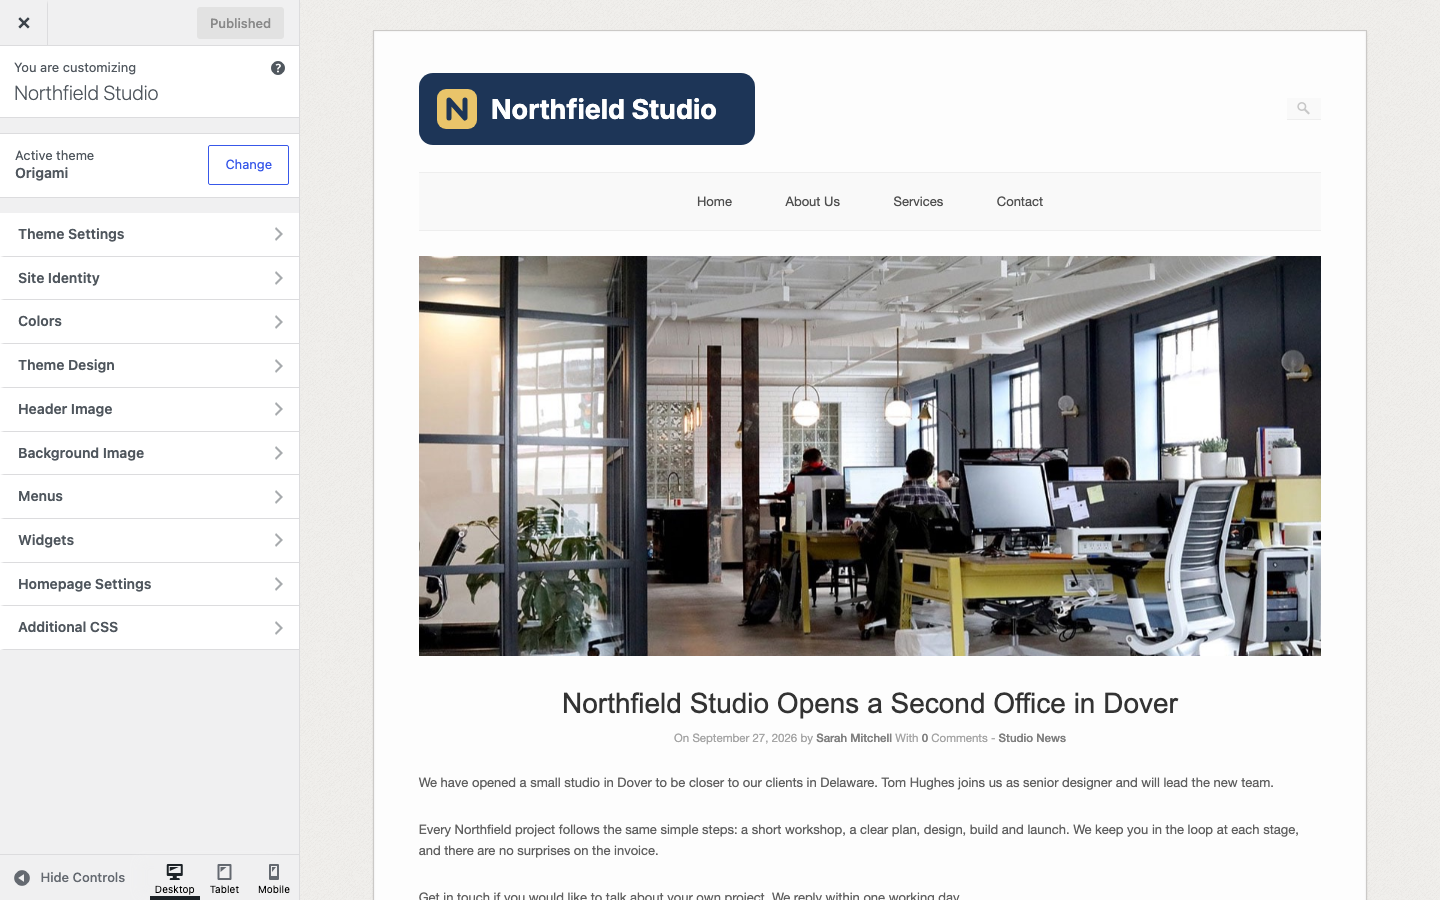
WordPress adds its own sections too. Site Identity holds your logo, site title, tagline and site icon. Colors and Background Image set the page background, and Colors also holds Origami’s General Link Color. Menus and Widgets manage your menu and footer widgets. Click Publish to save your changes.
The AppearanceTheme Settings page in the admin menu has no settings. It only tells you that the settings are in the Customizer.
Set Up Your Site
- Add your logo at AppearanceCustomizeSite Identity, as shown in Add Your Logo. If your site set its logo as a header image before, Origami shows that image while Logo is empty.
- Create your menu and assign it to Primary Menu, as shown in Menus.
- Add your footer widgets, for example your address and phone number in a Text widget, as shown in Widget Areas.
- Set the copyright line with Copyright in the Text section of Theme Settings, for example Copyright Northfield Studio.
- Choose your fonts and colors in Theme Design.
Set Up Your Home Page
By default, your home page shows your latest posts. To show a page instead:
- Go to PagesAdd Page, type a title such as Home and add your content. To hide the page title, choose Without Page Title in the Template list.
- Click Publish.
- Go to SettingsReading, choose A static page (select below), choose your page for Homepage and click Save Changes.
To keep a blog, create an empty page such as Blog and choose it for Posts page. With Page Builder active, you can also build the home page at AppearanceHome Page, starting from Origami’s Business Home Page layout. See Plugins.
SiteOrigin Premium
SiteOrigin Premium adds two theme addons for Origami: the No Attribution Addon to remove the “Theme By SiteOrigin” footer link, and the Ajax Comments Addon to post comments without a page reload. See Premium Settings.
Get Help
If you are new to Page Builder, read the Page Builder documentation. For questions about Origami, use the SiteOrigin forum.