
 Page Builder
  Widgets Bundle
  SiteOrigin CSS
  Installer
 Clearing Caches When Changes Don’t Show
7 min read Updated
If your site still shows the old version of a page after you update it, you’re looking at a cached copy. A cache stores copies of your pages and files so your site loads faster. Your browser has one, and depending on your setup there can be three more: a caching plugin, your host’s cache and a CDN such as Cloudflare. Check them in that order, starting with your browser.
Check in a Private Window
Your browser keeps copies of the pages, images and style files it has loaded before. To reload a page without them, press Ctrl+Shift+R on Windows. On a Mac, press Cmd+Shift+R in Chrome or Firefox, or Cmd+Option+R in Safari.
Then close any private windows you have open, because they share one cache, and open the page in a new private window. A new private window starts with an empty cache, and you aren’t logged in to WordPress there, so you see the page the way a visitor does. That matters because caching plugins don’t cache pages for logged-in users by default: if you see the change only while you’re logged in, visitors are still getting the old version.
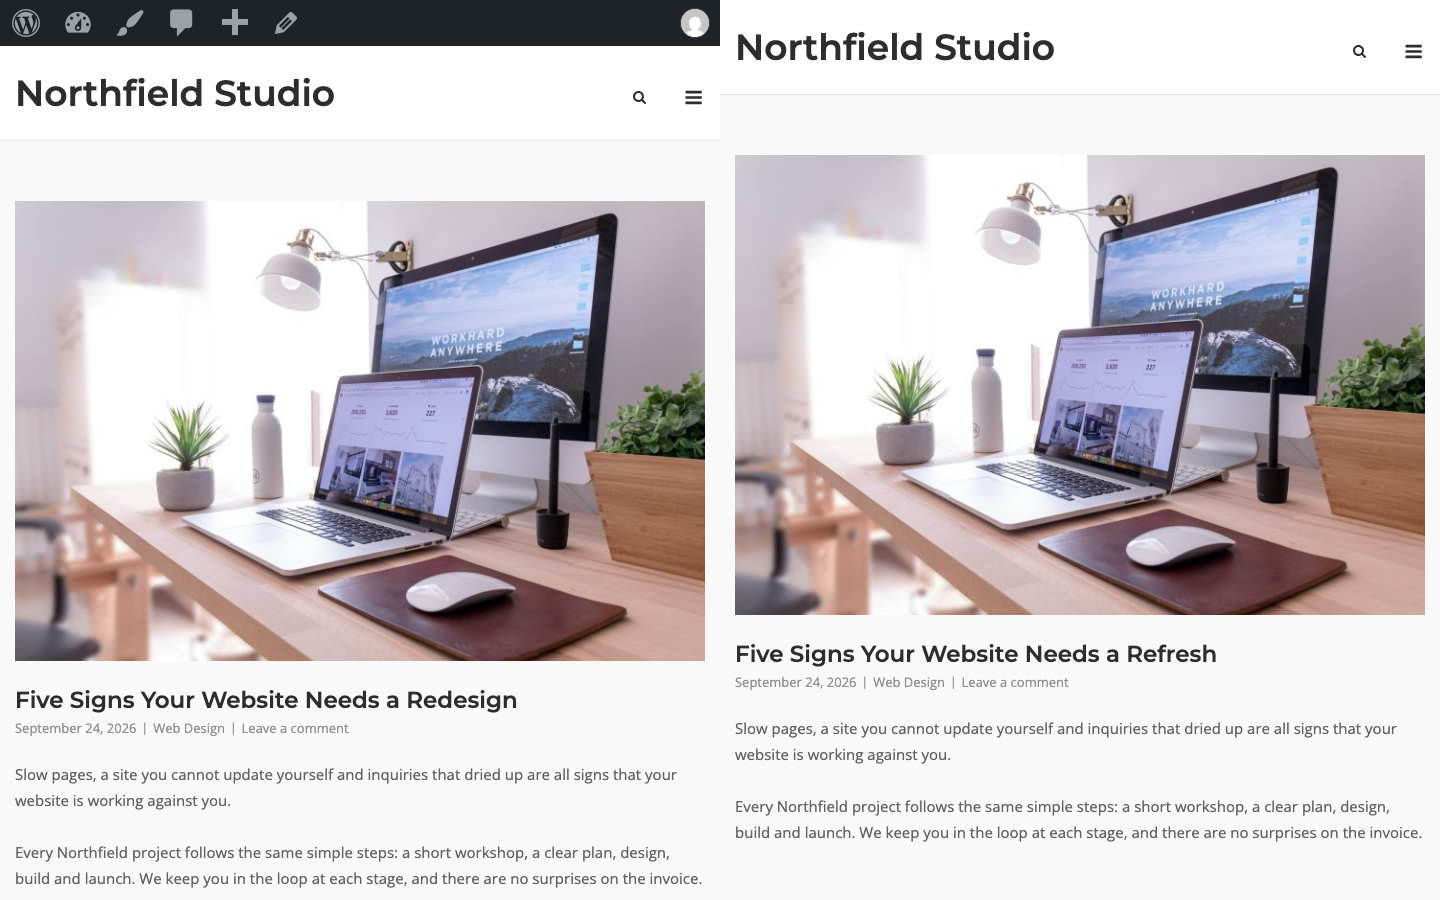
If the change shows in the private window, only your own browser had the old version, so clear your browser’s cache and check again. If the private window also shows the old version, it’s coming from your caching plugin, your host’s cache or your CDN. Clear them in that order, and check the page in a new private window after each cache.
Clear Your Caching Plugin
A caching plugin saves a copy of each page and serves that copy to visitors. When you update a page, the plugin clears that page’s copy. When you change a widget, a menu or a theme setting, which can appear on every page, it doesn’t, so clear the whole cache after a change like that.
- Look for a button such as Clear Cache, Purge All or Delete Cache in the WordPress toolbar or on your caching plugin’s settings page.
- Clear the whole cache, then check the page in a new private window.
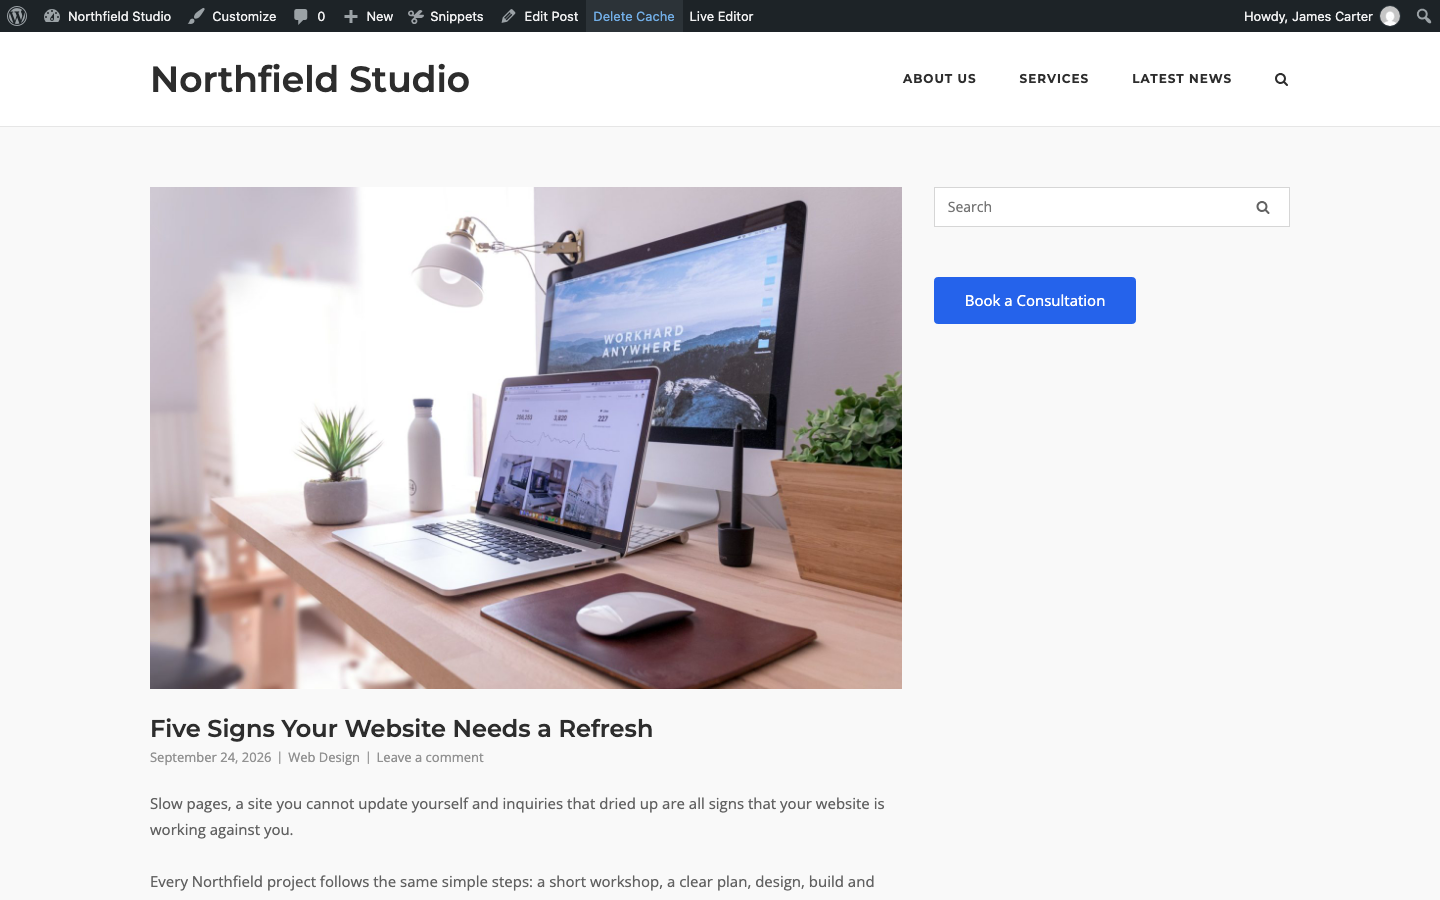
If your caching plugin also caches CSS or JavaScript files, clear that cache too.
If the old version still shows, deactivate the caching plugin at PluginsInstalled Plugins and check the page again. If the change now appears, the plugin’s cache was the problem: reactivate the plugin, clear its cache once more and check again. If the old version comes back after that, contact the plugin’s support team.
Page Builder and Widgets Bundle Styles
Page Builder adds each layout’s styles to the page itself, so after you change a layout, clearing the page cache is enough.
The Widgets Bundle saves widget styles as files in wp-content/uploads/siteorigin-widgets and deletes files that are more than a week old. A cached page can still point to a deleted style file, and its widgets then show without their design. Clear the page cache, and the Widgets Bundle creates the file again the next time the page loads. If the widgets still show without their design, clear your host’s cache, then your CDN.
Clear Your Host’s Cache
If your host caches pages, its cache is separate from any caching plugin and keeps serving the old version even when you deactivate all your plugins.
- Check the WordPress toolbar and dashboard for a cache button from your host.
- If there isn’t one, log in to your hosting account and look for a cache setting.
- Clear the cache, then check the page in a new private window.
If you can’t find a cache setting, ask your host whether your site has a page cache and how to clear it.
Purge Your CDN
A CDN (content delivery network) keeps copies of your site’s files on servers around the world, close to your visitors. By default, Cloudflare caches files such as images, CSS and JavaScript, but not the pages themselves, so after you clear every other cache it keeps serving the old styles and images until you purge them. If you’ve set Cloudflare to cache pages as well, purge those page addresses too.
To purge single files or pages from Cloudflare:
- Log in to the Cloudflare dashboard and select your site.
- Go to Caching > Configuration.
- Under Purge Cache, click Custom Purge.
- Under Purge by, select URL and enter the full address of each image or style file that changed. If Cloudflare caches your pages, add the page addresses too.
- Click Purge, then check the page in a new private window.
If you don’t know which files changed, click Purge Everything under Purge Cache instead. Keep that for when you can’t name the files, because Cloudflare then fetches every file from your host again.
If you’re making a series of design changes, enable Development Mode under Caching > Configuration. It bypasses Cloudflare’s cache for three hours, then switches itself off. Purge the changed files as well, or the old copies return when Development Mode ends. With a different CDN, look for the purge option in its dashboard.
If the Change Still Doesn’t Show
If a new private window still shows the old version after all of these, check that you edited the right thing.
- Your homepage: go to SettingsReading and check Your homepage displays. If it’s set to a static page, make sure that’s the page you edited. With a block theme, also open AppearanceEditor and go to Templates: your homepage uses Front Page if your theme has it. If your homepage shows your latest posts and there’s no Front Page template, it uses Blog Home, or Index when Blog Home is missing too.
- Sliders and forms: edit them in the plugin that created them.
- Widgets, headers and footers: with a classic theme, edit widgets at AppearanceWidgets. With a block theme, check the page’s template in AppearanceEditor, and open the header or footer template part under Patterns.
- Drafts and scheduled posts: they aren’t public yet. The status shows next to the title at PostsAll Posts or PagesAll Pages.
- Translations: on a site in more than one language, check that you edited the translation you’re viewing.
If the change still doesn’t appear, check for a plugin or theme conflict with Identifying Plugin Issues. If the page is blank or broken, find the error with Debugging in WordPress. If WordPress shows an error when you save, see Fixing Saves Blocked by a Firewall.
Ask an AI Assistant
Your AI assistant can read the page’s response headers and tell you whether a cache served it. Check any fix it suggests in a new private window, and before you paste anything, remove passwords, keys, cookies and customer details.
To copy the page’s response headers:
- Open the page in a private window.
- In Chrome, Edge or Firefox, right-click the page, choose Inspect and open the Network tab. In Safari, first enable Show features for web developers in Safari > Settings > Advanced. Then right-click the page, choose Inspect Element and open the Network tab.
- Reload the page.
- Click the request with your page’s address, open its Headers tab and copy the Response Headers. Leave out any
set-cookielines.
My WordPress site still shows an old version of a page after I
updated it. These are the response headers of that page,
without cookies:
PASTE THE RESPONSE HEADERS HERE.
My caching plugin: PLUGIN NAME, OR NONE.
My host: HOST NAME. CDN: CLOUDFLARE, OTHER OR NONE.
Do these headers show that a cache served the page? Explain what
they show and how I can check whether my change is live.
If you can’t find the response headers, describe your setup instead:
I changed DESCRIBE THE CHANGE on my WordPress site. When I'm logged in,
the change SHOWS / DOES NOT SHOW. In a fresh private window, it
SHOWS / DOES NOT SHOW. My plugins: PASTE THE PLUGIN NAMES. My host: HOST NAME.
Which of these plugins could be caching my page or its styles?
Tell me where to clear each one's cache.